- April 11, 2020
- Posted by: Syed Shujaat
- Category: CITRIX
No Comments
Here, I’ll detail step-by-step instructions to download the NetScaler 10.5 VPX-1000Mbps appliance and license the VPX with a 90-day Platinum Trial License. I’ll divide the steps in three sections.
- Download the NetScaler VPX Appliance and obtain the MAC address.
- Download the Platinum Trial License from mycitrix.com and activate the appliance.
- Upload the license file into the appliance.
Download the NetScaler VPX Appliance and obtain the MAC address
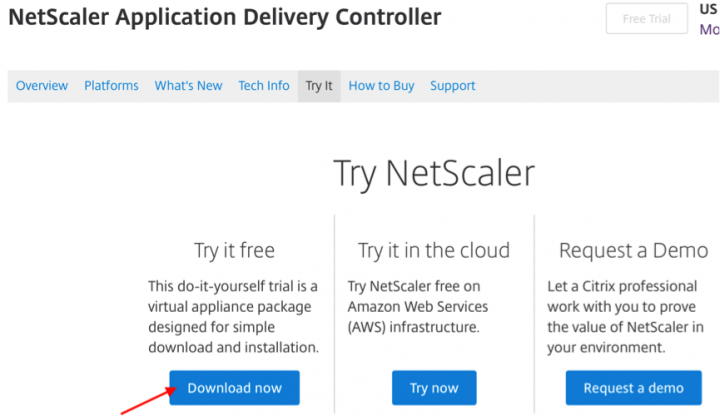
- Go to https://www.citrix.com/products/netscaler-application-delivery-controller/try.html
- Click “Download Now” under Try it free.
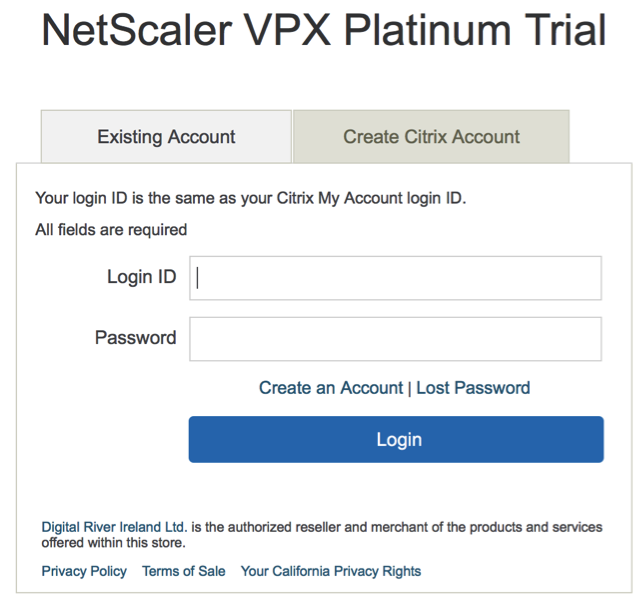
- Login with your existing Citrix account. If you do not have a citrix account already, click on “Create Citrix Account “ tab and complete the account creation form.
- Fill your information and accept the Citrix End User License agreement and click on Get License

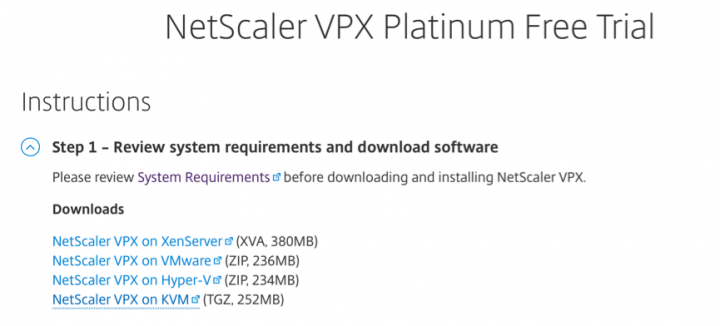
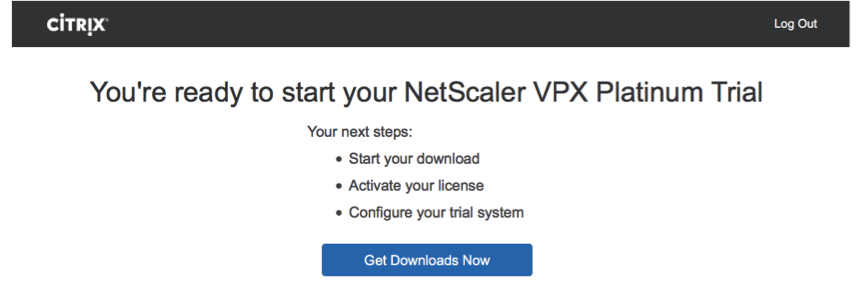
- Once completed, you’ll be presented with the below screen. Click on Get Downloads Now

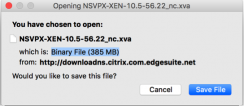
- Select the required NetScaler VPX download depending on your Hypervisor. (In this example, I’ll be downloading NetScaler VPX for XenServer. )

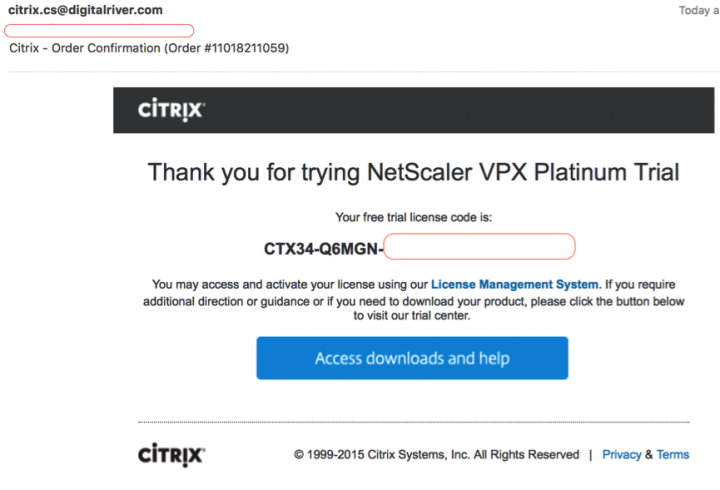
- You will also receive the NetScaler VPX Platinum Trail license code in your registered email.
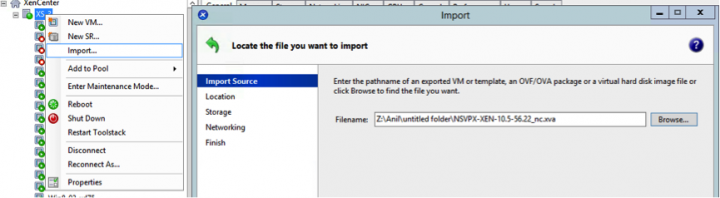
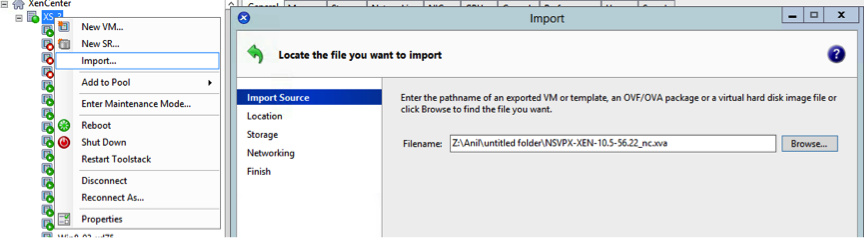
- Import the VPX instance into your Hypervisor (in this example we are using XenServer), and power ON the VPX instance.
- Once powered ON, go to the console session, you should see the below screen.
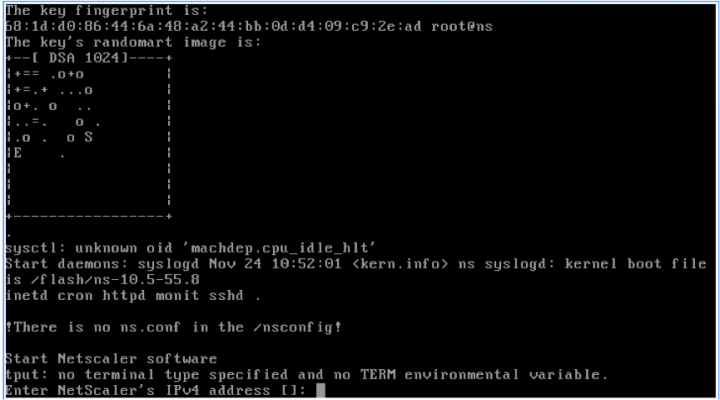
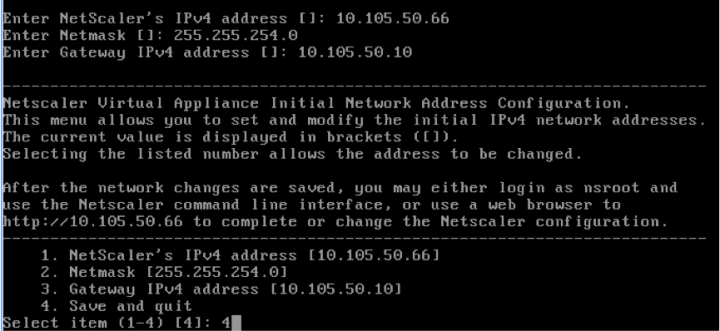
- Provide the NetScaler IP, subnet mask and default gateway information. Save the changes. The NetScaler will reboot at this point.
- Follow the below instructions to obtain the MAC address of your VPX instance. The MAC address is required to license your appliance, detailed in later steps.
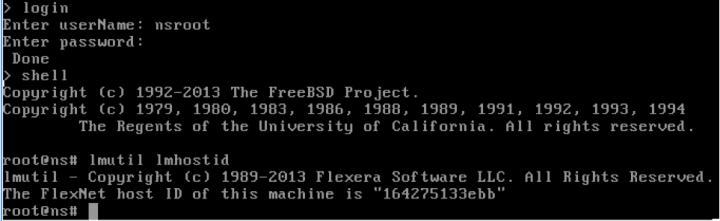
- Log on to NetScaler CLI (console or using Putty), the default username and password is nsroot and nsroot respectively.
- Type shell and press Enter to go to the shell prompt.
- Enter command lmutil lmhostid -ether
The output of the command <lmutil lmhostid –ether> on the NetScaler VPX console shows the MAC address. Following is an example:
root@ns# lmutil lmhostid lmutil – Copyright (c) 1989-2007 Macrovision Europe Ltd. and/or Macrovision Corporation. All Rights Reserved. The FLEXnet host ID of this machine is “xxxxxxxxxxxx”
Download the Platinum Trail License from mycitrix.com and activate the appliance.
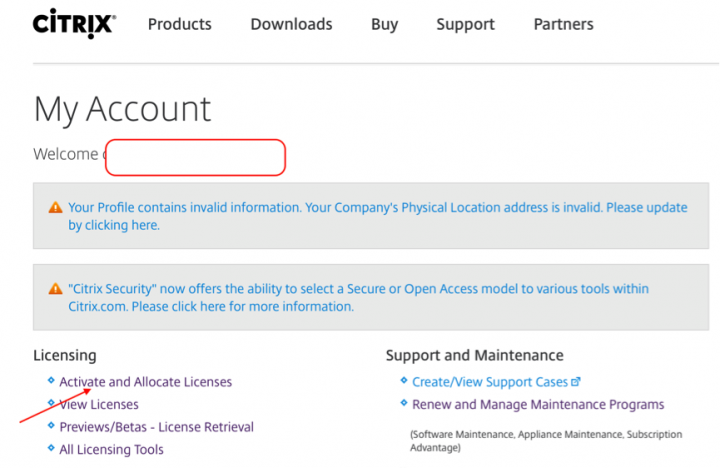
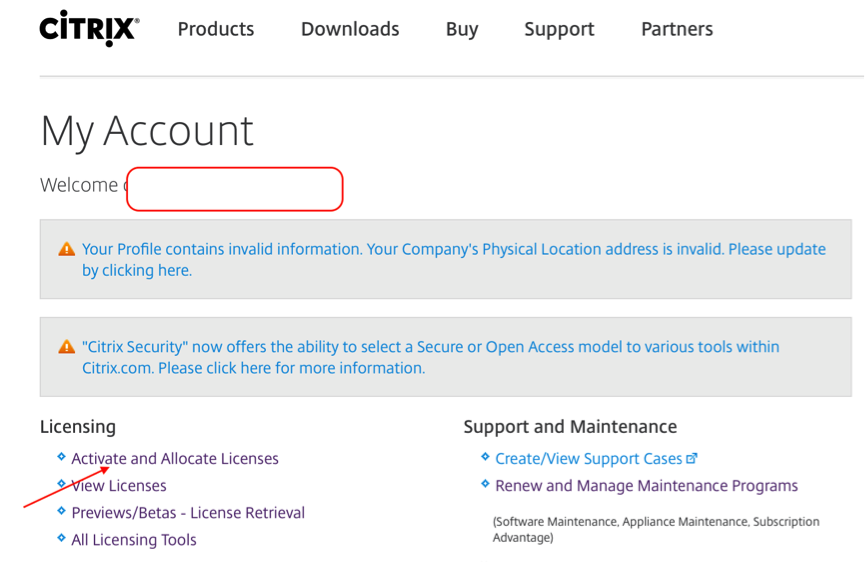
- Now open a web browser in your local machine and login to www.mycitrix.com and click on Activate and Allocate Licenses.
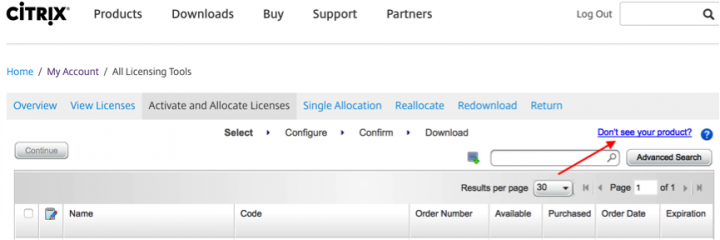
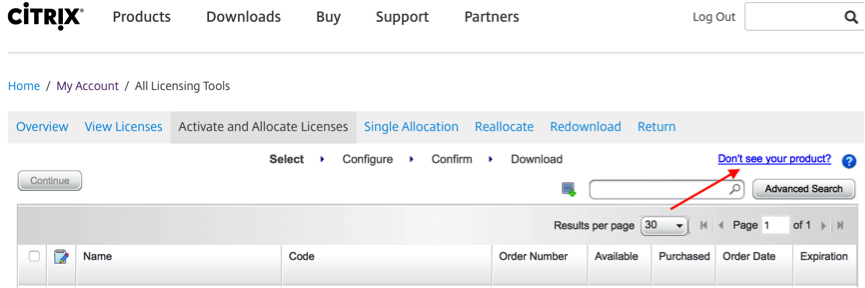
- Click on Don’t see your product?
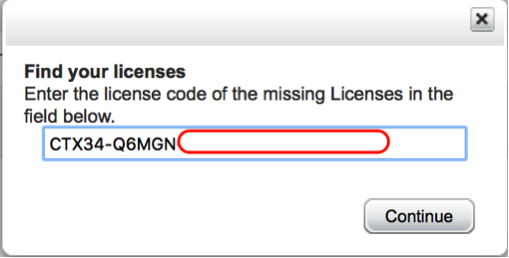
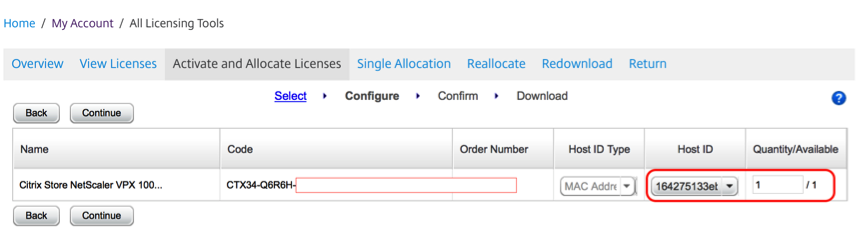
- Enter the License code you received in your email (Step 7) and click Continue.
- Enter the MAC address (from Step 11.) in the Host ID field and hit Continue
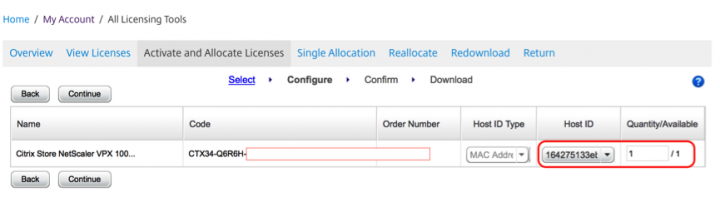
- Check the details and hit Confirm.

- Save the License file in your local directory.
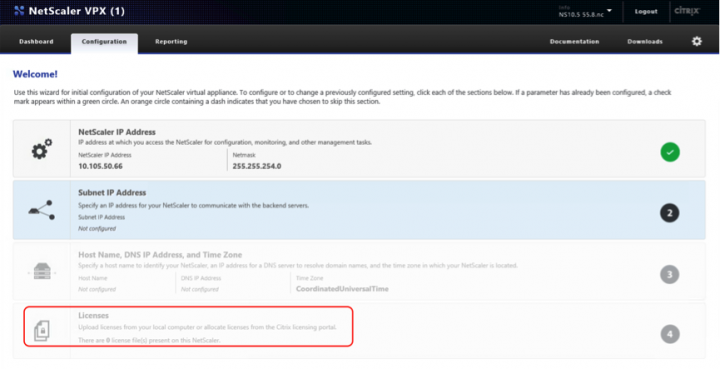
Upload the license file into the appliance. - You can access the NetScaler GUI from a web browser. http://<NetScalerIPAddress> Please login with default username (nsroot)and password (nsroot)
- Enter SNIP, Hostname, IP address and Time Zone information. Or you could skip this step to add it later.
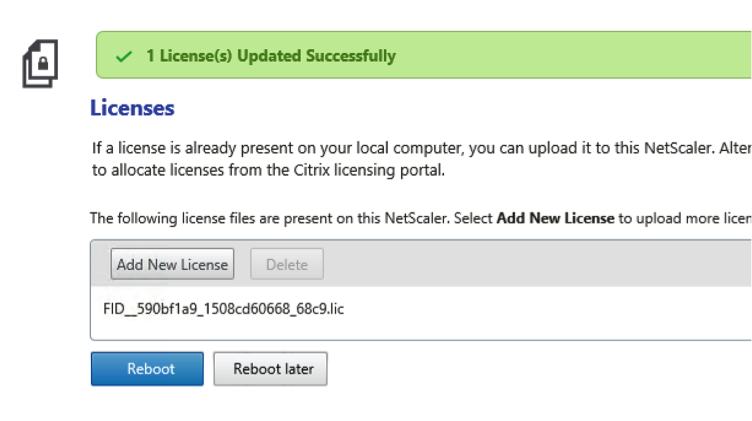
- Click on Licenses
- Click Browse and locate your license file downloaded in step 17.

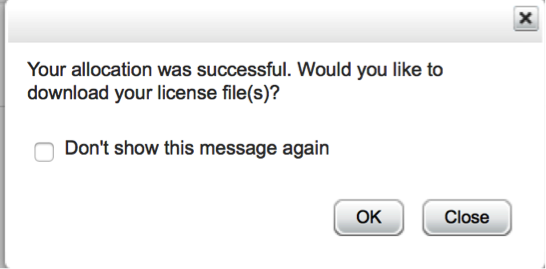
- You will receive the below confirmation on successful upload of the License file. Reboot your VPX instance after License upload.

- After successful reboot, please login to the NetScaler GUI. Click on the Configuration tab, expand System -> Licenses. Check the License type and Model ID, and all the features should be enabled.


For information on NetScaler MIP and SNIP – http://support.citrix.com/article/CTX120318